From My Workbench to Yours: Why This Shield Matters
Let me tell you about the time I tried to build a smart thermostat using Wi-Fi. After three days of dropped connections and mysterious failures, I nearly threw my Arduino out the window. That's when I discovered the Ethernet Shield - my saving grace. This unassuming board became the reliable workhorse of my IoT projects, and today I want to share why it might become yours too.
What This Board Really Does (And Why It's Awesome)
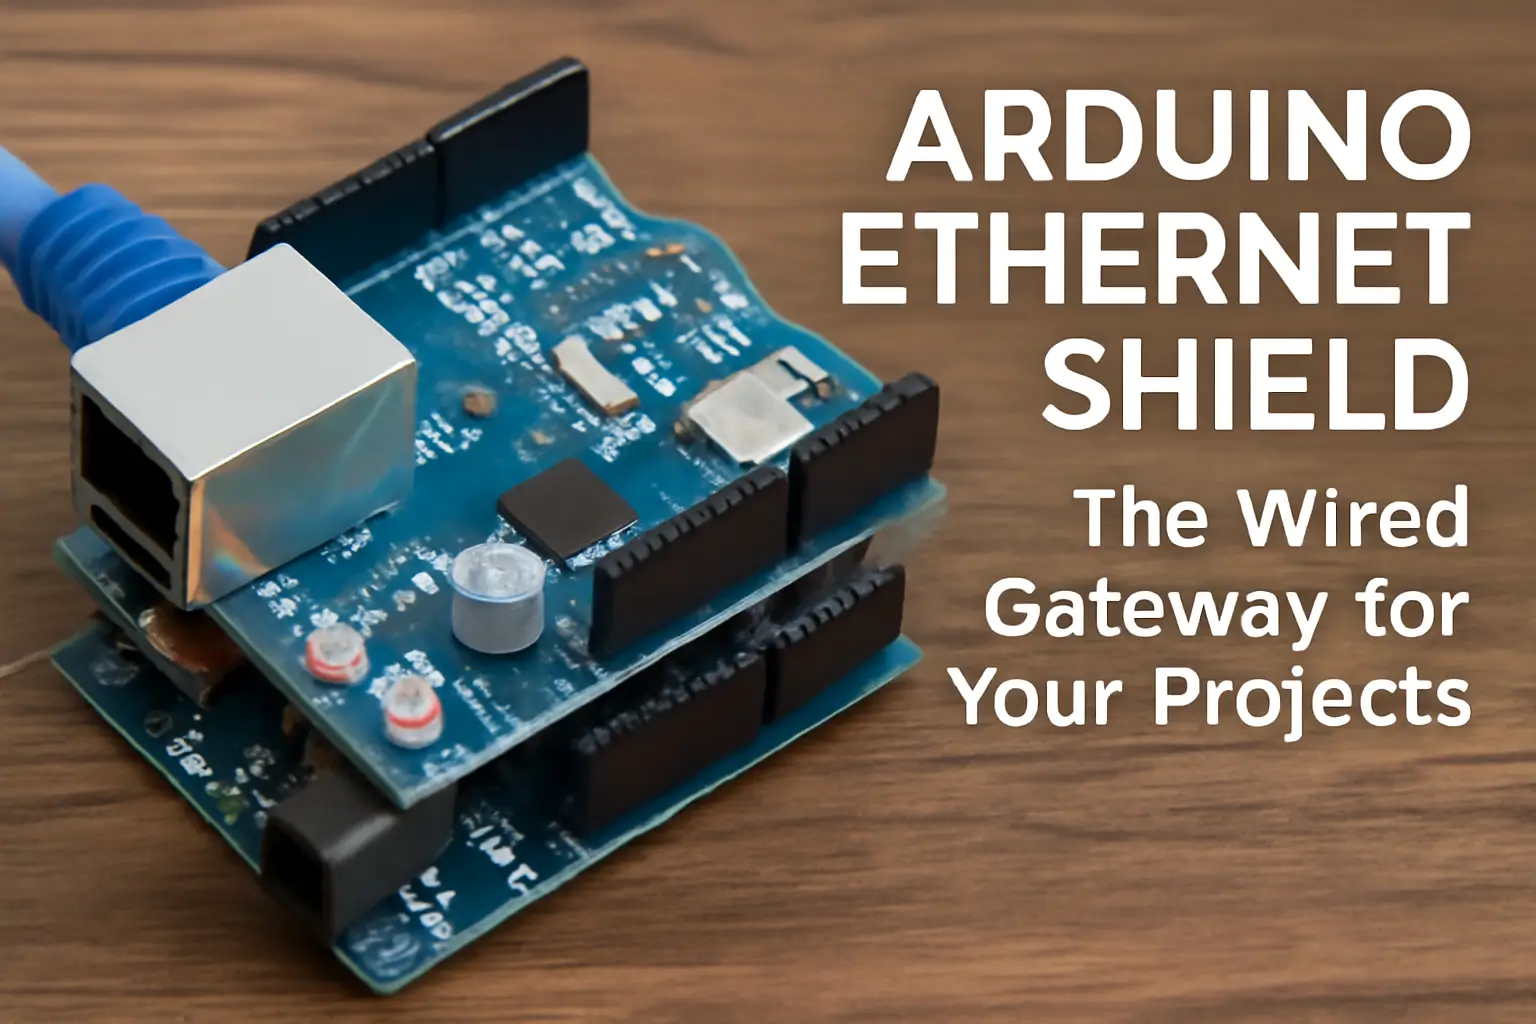
At its core, the Ethernet Shield gives your Arduino something it desperately needs but wasn't born with - a wired internet connection. Here's what makes it special:
- The Wiznet Chip - This little powerhouse handles all the networking heavy lifting
- Built-in SD Card Slot - Perfect for storing data without hogging your Arduino's memory
- Rock-Solid Connection - Unlike Wi-Fi, you won't lose signal when your neighbor microwaves popcorn
Real Talk: I've used this in everything from art installations to industrial monitors. That SD card slot? Lifesaver when you need to store sensor data for weeks at a time.
Getting Started: No PhD Required
Hardware Setup (5 Minutes Flat)
- Stack It - Gently push the shield onto your Arduino (Uno works great)
- Plug In - Connect an Ethernet cable to your router
- Power Up - USB works fine for testing
- Bonus - Slide in a microSD card if you want data storage
Pro Tip: That little LED near the Ethernet port? It should blink when connected. If not, check your cable.
Software Setup (Even Easier)
#include <SPI.h>
#include <Ethernet.h>

void setup() {
  // Your code here
}
That's literally all you need to start. The Ethernet library comes pre-installed with Arduino IDE.
Projects That Actually Work (Tested on My Bench)
1. "Hello World" Web Server
byte mac[] = { 0xDE, 0xAD, 0xBE, 0xEF, 0xFE, 0xED };

void setup() {
  Ethernet.begin(mac);

  // Print the IP to Serial Monitor
  Serial.begin(9600);
  Serial.print("My IP: ");
  Serial.println(Ethernet.localIP());
}

void loop() {
  // Handle incoming connections
}
Why This Rocks: I used this exact code to create a status panel for my 3D printer. No fancy frameworks, just pure functionality.
2. Sensor Data Logger
void setup() {
  // Initialize SD card
  if (!SD.begin(4)) {
    Serial.println("SD Card Failed!");
    return;
  }

  File dataFile = SD.open("datalog.txt", FILE_WRITE);
  dataFile.println("New reading: 25.5C");
  dataFile.close();
}
Real-World Use: I logged basement humidity this way for months. The SD card held up perfectly.
3. Remote Control Anything
int ledPin = 7;

void loop() {
  if (EthernetClient client = server.available()) {
    if (client.find("GET /on")) {
      digitalWrite(ledPin, HIGH);
    }
    // Send response
    client.println("<a href='/on'>Turn On</a>");
  }
}
Confession: I once controlled Christmas lights with this. My family thought I was a wizard.
When Things Go Wrong (And They Will)
We've all been there. Here's what actually works:
- No Connection? Try a different cable (yes, really)
- SD Card Issues? Format as FAT32 (not exFAT)
- IP Problems? Start with DHCP before static IPs
True Story: Once spent two hours debugging only to realize I'd typed the MAC address wrong. Don't be me.
Why This Old-School Tech Still Rocks
In our Wi-Fi obsessed world, here's why I keep coming back to the Ethernet Shield:
- Reliability - It just works, every time
- No Extra Config - No routers to fuss with
- Industrial Tough - Works in places Wi-Fi fears to tread
Your Turn to Build
What will you create? A:
- Garage door opener you can control from work?
- DIY security system that emails you photos?
- Plant monitor that tweets when it needs water?
The only limit is your imagination (and maybe your coding skills, but we all start somewhere).
Got questions? Contact me on linkedIn or Email - I answer every email. Not because I'm nice, but because I remember how frustrating this can be when you're starting out.