Unleashing the Power of ESP32: Your Guide to Building a Mini IoT Server
Imagine you’re tinkering in your garage, dreaming up a smart home gadget that lets you control your lights, monitor sensors, or even stream live data to your phone. Sounds like a job for a powerful microcontroller, right? Enter the ESP32—a tiny, affordable chip with Wi-Fi and Bluetooth superpowers that can act as a server for your Internet of Things (IoT) projects. Whether you’re a hobbyist or a seasoned maker, the ESP32’s ability to play “server” makes it a game-changer for connecting devices over a network.
In this post, we’ll dive into how the ESP32 works as a server, explore the types of servers it can host, and walk you through a hands-on example to get you started. By the end, you’ll be ready to turn your ESP32 into a mini command center for your IoT ideas. Let’s get to it! 🚀
What Does It Mean for the ESP32 to Be a Server?
Picture a server as the friendly host of a party. It’s always listening, ready to greet guests (clients like your phone or laptop) and respond to their requests—whether it’s serving a webpage, sending sensor data, or toggling a light. The ESP32, with its built-in Wi-Fi and Bluetooth, is perfectly suited to play this role in your IoT projects.
Here’s what the ESP32 can do as a server:
- HTTP Web Server: Think of this as a mini website hosted on your ESP32. You can access it from any browser to control devices or display data.
- WebSocket Server: Perfect for real-time, two-way communication—like a chat app or live sensor updates (e.g., temperature readings).
- MQTT Broker (Lightweight): A messaging system for IoT devices, letting them “publish” data (like sensor readings) or “subscribe” to updates.
- TCP/UDP Server: For custom, low-level communication using raw sockets—great for advanced projects with unique protocols.
The ESP32’s Wi-Fi module is the key. It can either join an existing network (Station mode, like connecting to your home Wi-Fi) or create its own network (Access Point mode, where your devices connect directly to the ESP32). This flexibility makes it a powerhouse for IoT applications.
The Building Blocks of an ESP32 Server
To understand how the ESP32 pulls off its server magic, let’s break it down into a few key components:
- Wi-Fi Setup: The ESP32 needs to be online—either by joining your Wi-Fi network or creating its own hotspot.
- Server Initialization: Using libraries like
WiFi.handWebServer.h(for HTTP servers), you tell the ESP32 to start listening for requests. - Request Handling: You define what happens when a client sends a request, like a GET (to fetch a webpage) or POST (to send data).
- Client Interaction: The ESP32 processes incoming data (e.g., a button click) and sends back a response (e.g., updating a webpage).
Sounds straightforward, right? Let’s bring it to life with a fun, practical example!
Hands-On: Turn Your ESP32 into an LED-Controlling Web Server
Let’s build something tangible: a simple web server on the ESP32 that lets you control an LED from your phone or computer. It’s like giving your ESP32 a tiny webpage where you can click buttons to turn an LED on or off. Here’s how to make it happen.
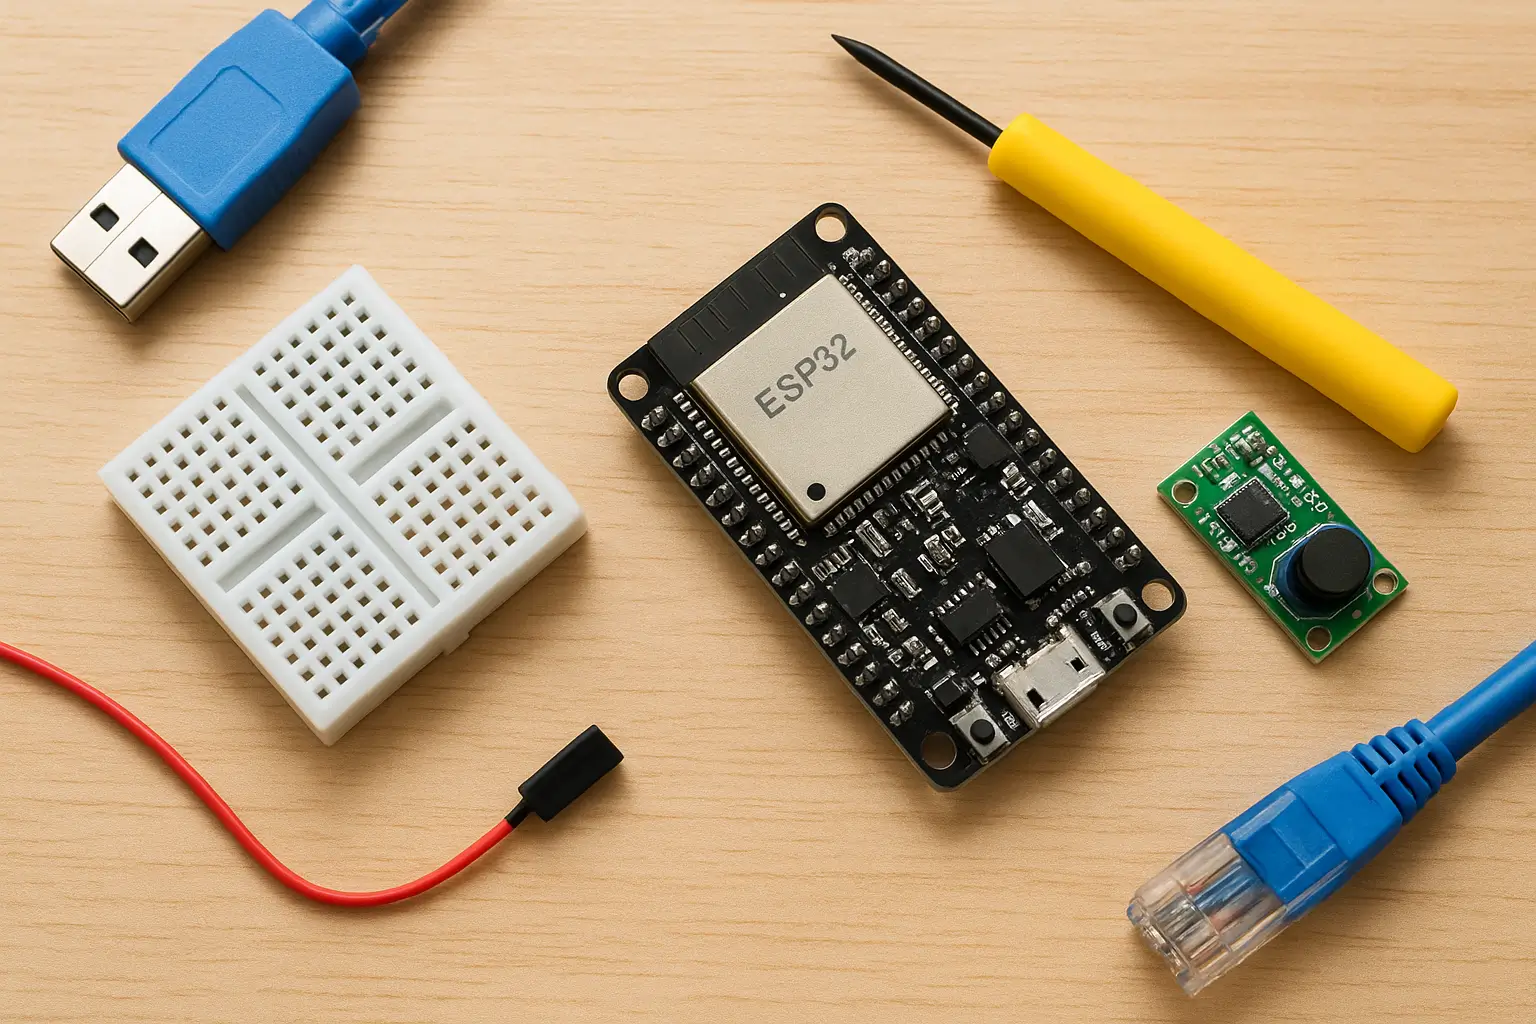
What You’ll Need
- ESP32 Dev Board: The star of the show. Any ESP32 development board, like the NodeMCU or ESP32-WROOM, will work.
- LED and Resistor: Connect an LED to GPIO 2 with a 220–330Ω resistor to protect it.
- Arduino IDE: We’ll use this to program the ESP32.
- A Wi-Fi Network: You’ll need the SSID and password of a Wi-Fi network for the ESP32 to join.
Wiring It Up
Connect the LED’s anode (longer leg) to GPIO 2 on the ESP32, and the cathode (shorter leg) to ground (GND) through a resistor. Double-check your connections to avoid frying your LED or ESP32!
The Code
Below is the Arduino code to turn your ESP32 into a web server that controls the LED. Don’t worry if it looks intimidating—I’ll explain how it works afterward.
#include <WiFi.h>
#include <WebServer.h>

// Replace with your Wi-Fi credentials
const char* ssid = "YourWiFiSSID";
const char* password = "YourWiFiPassword";

// Create a web server on port 80 (standard for HTTP)
WebServer server(80);

// LED setup
const int ledPin = 2;
bool ledState = false; // Tracks if LED is ON or OFF

// Handler for the root page ("/")
void handleRoot() {
  String html = "<html><body style='font-family: Arial; text-align: center;'>";
  html += "<h1>ESP32 LED Control</h1>";
  html += "<p>LED is currently: <b>" + String(ledState ? "ON" : "OFF") + "</b></p>";
  html += "<a href=\"/on\"><button style='padding: 10px; margin: 5px;'>Turn ON</button></a>";
  html += "<a href=\"/off\"><button style='padding: 10px; margin: 5px;'>Turn OFF</button></a>";
  html += "</body></html>";

  server.send(200, "text/html", html); // Send the webpage to the client
}

// Handler for turning the LED ON
void handleOn() {
  ledState = true;
  digitalWrite(ledPin, HIGH); // Turn LED on
  server.sendHeader("Location", "/"); // Redirect back to the root page
  server.send(303); // HTTP redirect code
}

// Handler for turning the LED OFF
void handleOff() {
  ledState = false;
  digitalWrite(ledPin, LOW); // Turn LED off
  server.sendHeader("Location", "/"); // Redirect back to the root page
  server.send(303);
}

void setup() {
  Serial.begin(115200); // Start serial communication for debugging
  pinMode(ledPin, OUTPUT); // Set GPIO 2 as output for the LED
  digitalWrite(ledPin, LOW); // Ensure LED is off initially

  // Connect to Wi-Fi
  WiFi.begin(ssid, password);
  Serial.print("Connecting to Wi-Fi");
  while (WiFi.status() != WL_CONNECTED) {
    delay(500);
    Serial.print(".");
  }

  Serial.println("\nWiFi Connected!");
  Serial.print("IP Address: ");
  Serial.println(WiFi.localIP()); // Print the ESP32’s IP address

  // Define the routes for the web server
  server.on("/", handleRoot); // Root page
  server.on("/on", handleOn); // Turn LED on
  server.on("/off", handleOff); // Turn LED off

  server.begin(); // Start the server
  Serial.println("HTTP Server Started");
}

void loop() {
  server.handleClient(); // Listen for incoming client requests
}
How to Run It
- Install the Arduino IDE: If you haven’t already, download and install the Arduino IDE, then add ESP32 board support (check online for the latest board manager URL).
- Upload the Code: Copy the code above, replace
YourWiFiSSIDandYourWiFiPasswordwith your Wi-Fi credentials, and upload it to your ESP32 via the Arduino IDE. - Open the Serial Monitor: Set the baud rate to 115200. Once the ESP32 connects to Wi-Fi, it’ll print an IP address (e.g.,
192.168.1.100). - Access the Webpage: Open a browser on your phone or computer (connected to the same Wi-Fi network) and enter the IP address. You’ll see a simple webpage with “Turn ON” and “Turn OFF” buttons. Click them to control the LED!
How It Works
Let’s break down the magic behind the code:
- Wi-Fi Connection: The ESP32 connects to your Wi-Fi network using the provided SSID and password. The
whileloop waits until the connection is established. - Web Server Setup: The
WebServer server(80)line creates a server on port 80, the standard port for HTTP traffic. - Handling Requests: Three routes are defined:
"/": Displays a webpage with the LED’s current state and two buttons."/on": Turns the LED on and redirects back to the root page."/off": Turns the LED off and redirects back to the root page.
- Serving the Webpage: The
handleRootfunction builds a simple HTML page dynamically, showing whether the LED is ON or OFF and providing clickable buttons. - Looping: The
loop()function continuously checks for client requests usingserver.handleClient().
When you click a button, your browser sends a request to the ESP32 (e.g., 192.168.1.100/on), the server processes it, toggles the LED, and refreshes the page. It’s like giving your ESP32 a tiny brain to talk to the world!
Why This Matters
This simple project is just the beginning. The ESP32’s ability to act as a server opens up endless possibilities:
- Control home appliances remotely (smart plugs, anyone?).
- Stream sensor data (like temperature or humidity) to a webpage.
- Build a mini IoT dashboard for your projects.
Plus, it’s super satisfying to see your code come to life with a glowing LED controlled from your phone!
Taking It Further
Want to level up? Here are a few ideas to expand this project:
- Add CSS: Make the webpage prettier with some styling (think colorful buttons or a sleek layout).
- Control Multiple LEDs: Extend the code to manage multiple GPIOs for more complex projects.
- Add Sensor Data: Display real-time readings from a sensor (like a temperature sensor) on the webpage.
- Try WebSockets: For real-time updates without refreshing the page, explore the
WebSocketsServerlibrary. - Set Up MQTT: Use the ESP32 as a lightweight MQTT broker to connect multiple IoT devices.
If you’re curious about diving deeper into WebSocket servers (for real-time apps) or MQTT brokers (for IoT messaging), let me know in the comments, and I can share more tips or even a follow-up guide!
Troubleshooting Tips
New to ESP32? Here are a few common hiccups and how to fix them:
- Wi-Fi Won’t Connect: Double-check your SSID and password. Ensure your ESP32 is within Wi-Fi range.
- IP Address Not Showing: Open the Serial Monitor to see if the ESP32 connected successfully. If not, restart the board.
- Webpage Not Loading: Make sure your device is on the same Wi-Fi network as the ESP32, and type the IP address exactly as shown in the Serial Monitor.
- LED Not Responding: Verify your wiring and ensure the GPIO pin matches the code (GPIO 2 in this case).
Wrapping Up
The ESP32 is like a Swiss Army knife for IoT projects—compact, versatile, and packed with features. Its ability to act as a server makes it a fantastic tool for building everything from simple LED controllers to complex smart home systems. With just a few lines of code, you can create a web interface, stream data, or connect devices in ways that feel like magic.
So, grab your ESP32, fire up the Arduino IDE, and start experimenting! Whether you’re toggling LEDs or dreaming up the next big IoT innovation, the ESP32 has your back. What cool project will you build with it? Share your ideas or questions in the comments below—I’d love to hear about your adventures!