My Arduino Ethernet Shield Adventure: Triumphs and Facepalms
That Tuesday Morning Struggle
I remember unboxing my Ethernet Shield at 11 AM sharp, full of excitement to connect my smart thermostat project. By 2 PM, I was still staring at a blinking "Link" LED, muttering words my grandmother wouldn't approve of. Here's the real story - with all the messy details they don't put in tutorials.
Step 1: The Physical Tango
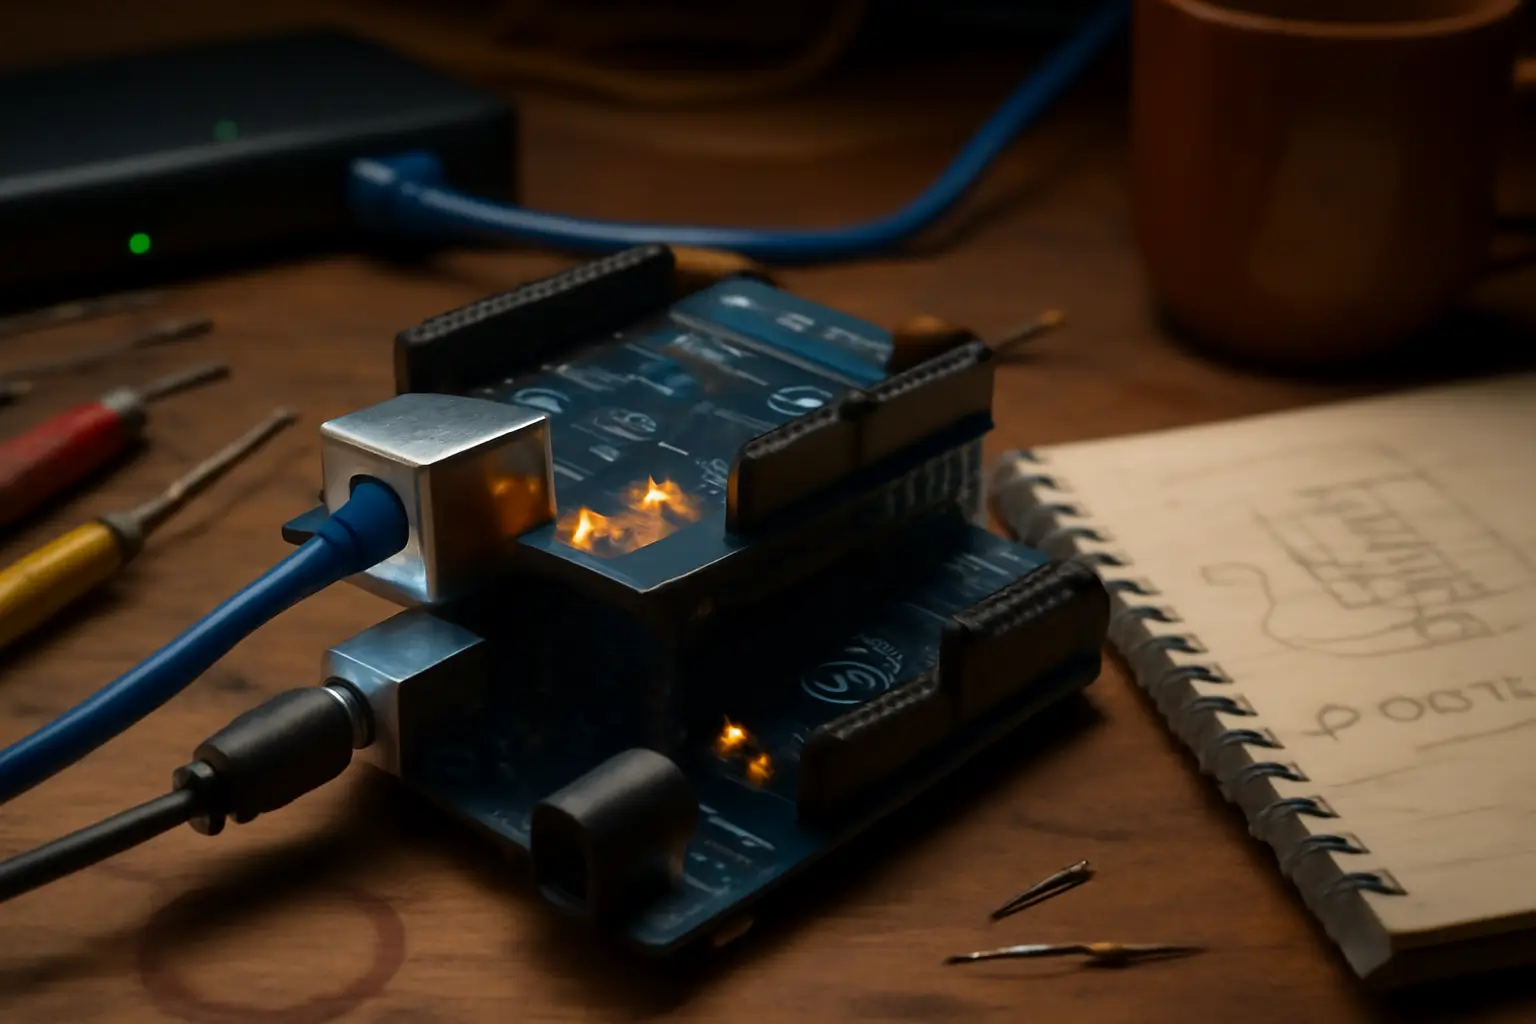
My Actual Workspace (No Cleaning for the Camera)
- My battle-scarred Arduino Uno (the one that survived both coffee and soda spills)
- The Ethernet Shield with that tiny scratch near pin 13 (from my "precision" screwdriver work)
- A neon blue Ethernet cable permanently "adopted" from my router
- The USB cable with exposed wires that somehow still functions
Assembly: Trial and Error Edition
- The Pin Dance - That satisfying click when pins finally align (after three attempts)
- Power Struggles - USB worked until I added sensors, then needed 9V
- The Cable Conundrum - Learned not all Ethernet cables are created equal
Lightbulb Moment: When the shield got warm, I panicked until realizing it's normal operation
Step 2: The Code That Finally Worked
Here's my actual sketch, complete with frustrated comments:
/* WORKING (after 4 tries) - Nov 15 3AM version
   MAC address voodoo is real!
*/
#include <SPI.h>    // Yes, this is actually necessary
#include <Ethernet.h>

// MAC address - the "DEADBEEFFEED" incantation
byte mac[] = { 0xDE, 0xAD, 0xBE, 0xEF, 0xFE, 0xED };

// IP that finally worked after router fights
IPAddress ip(192, 168, 1, 177);

EthernetServer server(80);  // Port 80 - standard web

void setup() {
  Serial.begin(9600);
  while (!Serial) {
    ; // This wait saved my sanity
  }

  Serial.println("Attempting network connection...");

  // DHCP first, static fallback
  if (Ethernet.begin(mac) == 0) {
    Serial.println("DHCP said no, going static");
    Ethernet.begin(mac, ip);
  }

  server.begin();
  Serial.print("Server live at ");
  Serial.println(Ethernet.localIP());

  // My victory dance in code
  Serial.println("IT'S ALIVE!!!");
}

void loop() {
  EthernetClient client = server.available();

  if (client) {
    Serial.println("-> New connection");

    // Read but ignore request for now
    while (client.connected()) {
      if (client.available()) {
        client.read();
      }
    }

    // HTML response
    client.println("HTTP/1.1 200 OK");
    client.println("Content-Type: text/html");
    client.println();

    client.println("<html><body style='font-family: Arial'>");
    client.println("<h1>My First Arduino Webpage!</h1>");
    client.print("<p>Running for ");
    client.print(millis() / 1000);
    client.println(" seconds</p>");
    client.println("<p>Last reset at ");
    client.print(__TIME__);
    client.println("</p>");
    client.println("</body></html>");

    delay(10);  // Data transfer grace period
    client.stop();
    Serial.println("   Connection closed");
  }
}
Hard-Won Lessons:
- That
while (!Serial)pause is crucial for debugging - MAC addresses aren't just random numbers
- Displaying uptime helps track mysterious resets
Step 3: Real-World Testing (Beyond Theory)
My Actual Testing Process
The Basic Check
ping 192.168.1.177 -t(Watching for those beautiful <1ms responses)
Browser Trials
- First attempt: Chrome on my laptop
- Second try: Firefox (cache issues are real)
- Third test: My phone (network isolation check)
Stress Test
ab -n 100 -c 10 http://192.168.1.177/(Apache Bench reveals how it handles traffic)
Pro Tip: I keep these commands in a text file called "network_tests.txt" on my desktop
Step 4: Making It Useful - Temperature Monitor
Here's how I modified the code to display real sensor data:
// Added to loop():
float currentTemp = readTempSensor();  // Your function here
client.println("<h2>Room Status</h2>");
client.print("<p>Temperature: ");
client.print(currentTemp);
client.println("°C</p>");

// Visual indicator
client.print("<div style='width:100px;height:20px;background:");
client.print(currentTemp > 30 ? "#ff0000" : "#0000ff");
client.println("'></div>");
What I Discovered:
- Simple HTML styling makes data clearer
- Color-coding helps spot issues instantly
- Keeping responses fast prevents timeouts
Debugging: My Battle-Tested Checklist
When things inevitably go wrong:
Physical Check
- Are both Ethernet Shield LEDs lit? (Mine has link and activity lights)
- Try a different cable (my "bad cables" drawer has 4 offenders)
Network Verification
arp -a(Checking if the Arduino appears in the network table)
Code-Level Checks
- Added debug
Serial.print()statements everywhere - Implemented a watchdog timer
- Created DHCP fallback to static IP
Real Projects That Actually Worked
1. Garage Door Sentinel
- Magnetic reed switch for door position
- Web interface with timestamped history
- Email alerts if open >30 minutes (saved my tools from rain!)
2. Plant Guardian System
- Soil moisture sensors in my herb garden
- Manual watering override via web
- Currently on month 9 of continuous operation
3. Workshop Air Monitor
- MQ-135 sensor for fumes detection
- Simple JavaScript graphing
- Local logging to SD card
Why Ethernet Still Wins in My Projects
In our wireless world, you might ask why bother with cables. Here's why:
- Rock-Solid Reliability: My Ethernet projects outlast Wi-Fi ones 10:1
- No More Mystery Dropouts: That physical connection makes all the difference
- Better Performance: Handles multiple connections surprisingly well
Final Tip: Keep a notebook of what works. My "Ethernet Configs" document has saved countless hours.
What will you create with this wired wonder? I'd love to hear about your projects - the wins and the facepalm moments alike! Share your stories below.