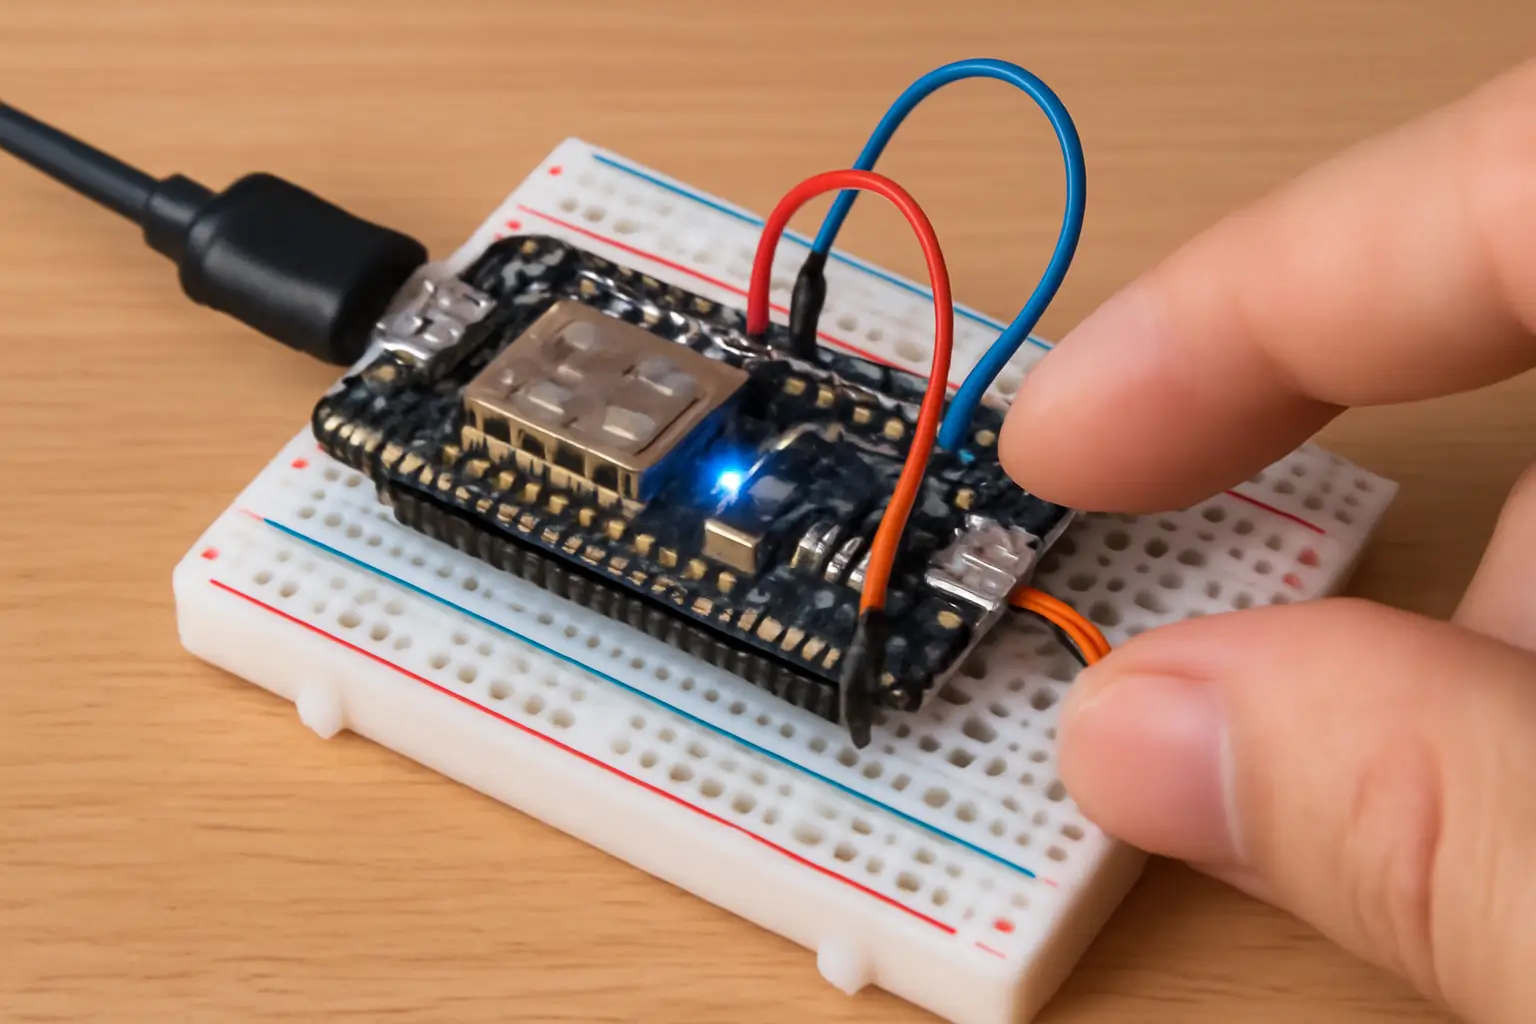
If you are like me, you probably wonder about this tiny blue colour boards, Is it really capable of doing what it is claimed to. After months of tinkering, burning out a few boards (oops!), and creating some pretty cool gadgets, I'm here to share everything I've learned the hard way.
Why NodeMCU Became My Go-To IoT Board
Let's be real - when you're starting out, Arduino boards feel comfortable but limited. Raspberry Pi seems powerful but overkill for simple sensors. That's where NodeMCU hits the sweet spot:
- It's ridiculously cheap (we're talking $3-$5 on a bad day)
- Built-in Wi-Fi that actually works reliably (unlike some USB dongles I've wrestled with)
- Plays nice with Arduino IDE - no learning a whole new language
- Just enough power for most smart home projects without being complicated
I'll never forget the first time I made my coffee maker tweet when it finished brewing - all thanks to this little board.
What's Actually on This Tiny Blue Board?
When you unbox a NodeMCU, you'll notice:
- The ESP8266 Chip - This is the brains. Don't let its size fool you - it's more powerful than early home computers!
- Those Mysterious Pins - Some are safe to use, others will make your project behave weirdly if you're not careful
- The CH340 Chip - The unsung hero that lets you program it via USB
Pro tip: The labeling can be confusing. D0-D8 don't correspond to the ESP8266's GPIO numbers. I learned this the hard way when my first project refused to work.
Setting Up Without Losing Your Mind
The official guides make it sound simple, but here's what they don't tell you:
- Driver Hell - If your computer doesn't recognize the board, you'll need the CH340 drivers. Took me 2 hours to figure this out!
- Board Manager URLs - That long URL you're supposed to paste? It changes sometimes. If it fails, just Google for the latest one.
- Upload Speed Matters - Start with 115200 baud, but if you get weird errors, try 9600
void setup() {
  pinMode(2, OUTPUT); // On most NodeMCU boards, pin 2 controls the built-in LED
}

void loop() {
  digitalWrite(2, LOW); // Turns LED ON (yes, it's backwards from Arduino)
  delay(500);
  digitalWrite(2, HIGH); // Turns LED OFF
  delay(500);
}
Projects That Actually Work (From Experience)
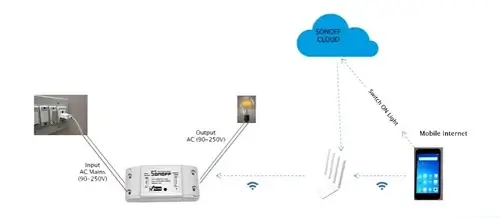
1. Wi-Fi Light Switch That Doesn't Drop Connection
After trying 3 different relay modules, here's what works:
- Use GPIO5 (D1) for the relay control
- Add a 100μF capacitor across the power pins
- Implement auto-reconnect in your code
2. Temperature Monitor That Doesn't Give False Readings
The DHT22 is more reliable than DHT11, but:
- Always add a 4.7K resistor between data and VCC
- Don't poll more than once every 2 seconds
- Use the Adafruit_Sensor library - others gave me garbage values
3. Battery-Powered Sensor That Lasts More Than a Day
For portable projects:
- Disable Wi-Fi when not needed
- Use deep sleep mode
- Power from 3 AA batteries (not LiPo unless you have a good regulator)
Pain Points Nobody Talks About
- Voltage Regulator Overheating - If you're powering multiple sensors, use an external 3.3V regulator
- Weird Resets - Always put a 100nF capacitor near the EN pin
- Wi-Fi Drops - The latest AT firmware (2.2.0) is way more stable than older versions
Where to Go From Here
After burning through a few boards (literally - smoke is bad, folks), I've settled on these best practices:
- Always use a breadboard - direct wiring leads to tears
- Buy from reputable sellers - the clones can be hit or miss
- Start simple - my first successful project was just an LED that turned on when my phone connected to Wi-Fi
The beauty of NodeMCU is that it's forgiving enough for beginners but capable enough for serious projects. My latest creation? A plant monitor that texts me when my succulents need water. Because apparently, I can keep an IoT device alive better than a cactus.
What frustrating-but-rewarding project are you working on? Lets share your story over my email or linkedIn


